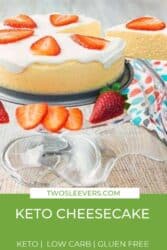
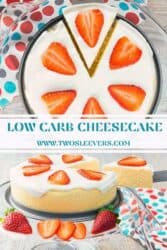
Low- carb cheesecake is the easiest, most luscious, creamy, tangy, keto cheesecake EVER. Even if you aren't a cheesecake fan, or even low-carb, this might be the recipe that converts you. My recipe is so easy I don't even mess with a crust!
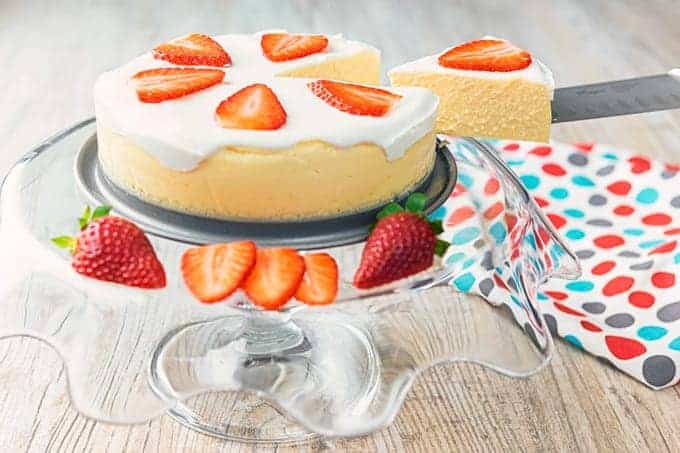
Here's the problem with traditional cheesecake recipes for me. They're dense. They're full of sugar. They require you to fuss with a crust which is also either caloric or full of carbs. I don't do too well with multiple-step recipes. I'm #lazyefficient.
Why Make Instant Pot Cheesecake?
- Delicious. My followers will tell you that--repeatedly.
- Easy. Mix all ingredients and cook in a springform pan inside of your Instant Pot.
- Low Carb. Only 3 carbs per serving.
- Portion Control. It's a smaller recipe than many others out there so you won't be looking at a ginormous cheesecake that needs finishing. But it's so rich, you'd be hard-pressed to eat more than a slice.
I know, I know. SO many Instant Pot Cheesecake recipes out there! Yes, but mine is probably one of the easier ones. Here are some other good reasons to choose this recipe.
Who needs a Keto cheesecake crust? I also honestly don't think cheesecakes ALWAYS need a crust. The crust is the fidgety part of it, and what I wanted, was to make a crustless, fast cheesecake that a normal, working person could make at a moment's notice.
How To Make Low Carb Cheesecake
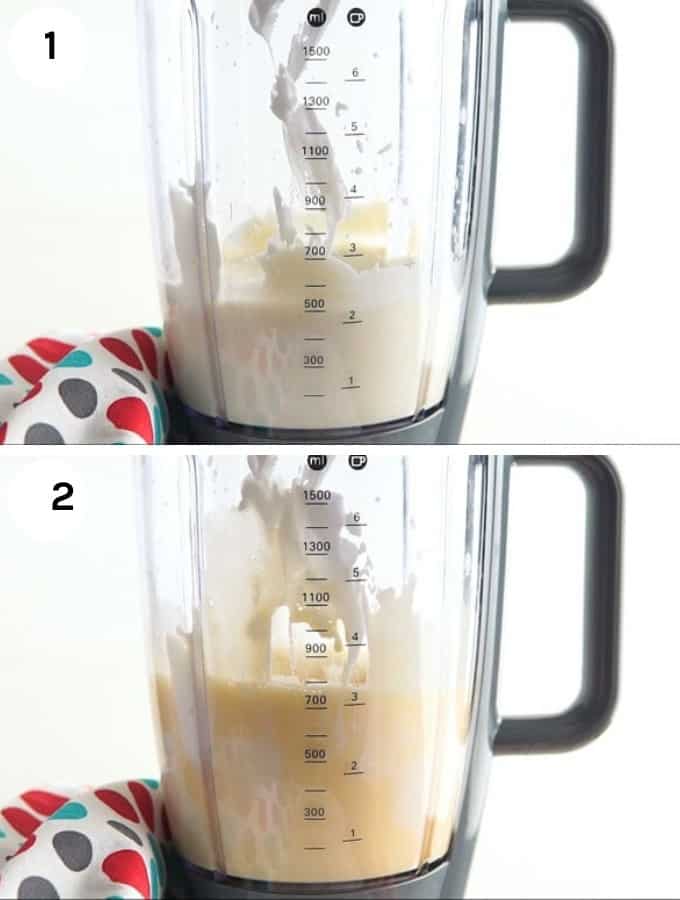
1. Add lemon juice, extract, cream cheese, sweetener, and sour cream to a blender or to a bowl if you plan to use a hand mixer. Put the liquid ingredients in the bottom to allow the blades to move more easily.
2. Add both eggs and blend slowly, and only for as long as it takes for the eggs to get incorporated. Do not overbeat at this point. You do not want to beat in any air.
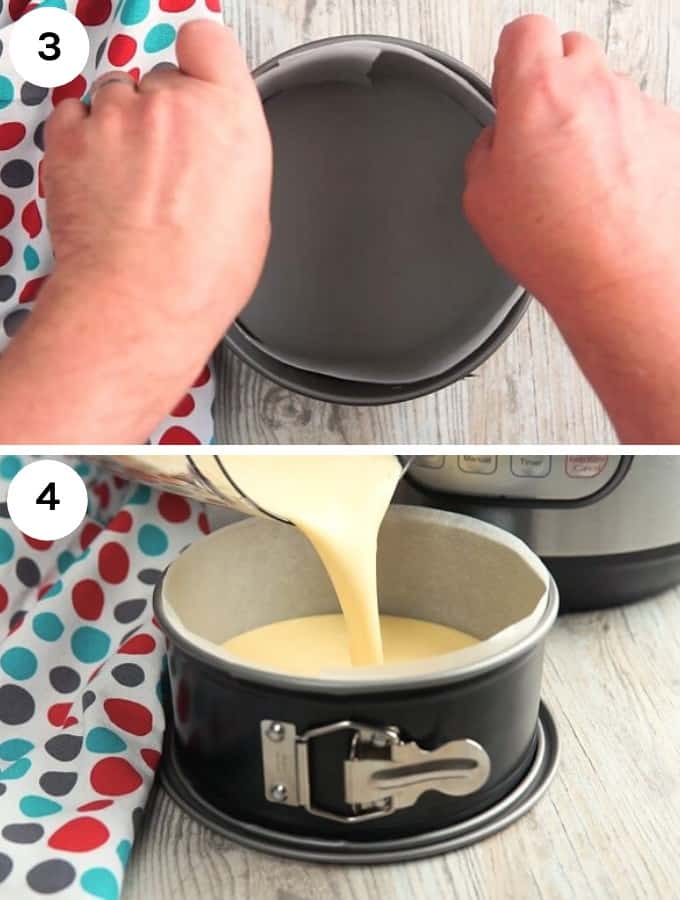
3. Line a 7-inch springform pan with parchment paper on the sides. This step is optional but it does make for a prettier presentation. In this case, since you aren't making a crust, the sides will show. I highly recommend using this parchment thingamajig.
4. Pour in the batter. Tap the pan gently on the counter to get rid of any air pockets so that you can have a dense, smooth, creamy cheesecake. Cover the pan with foil.
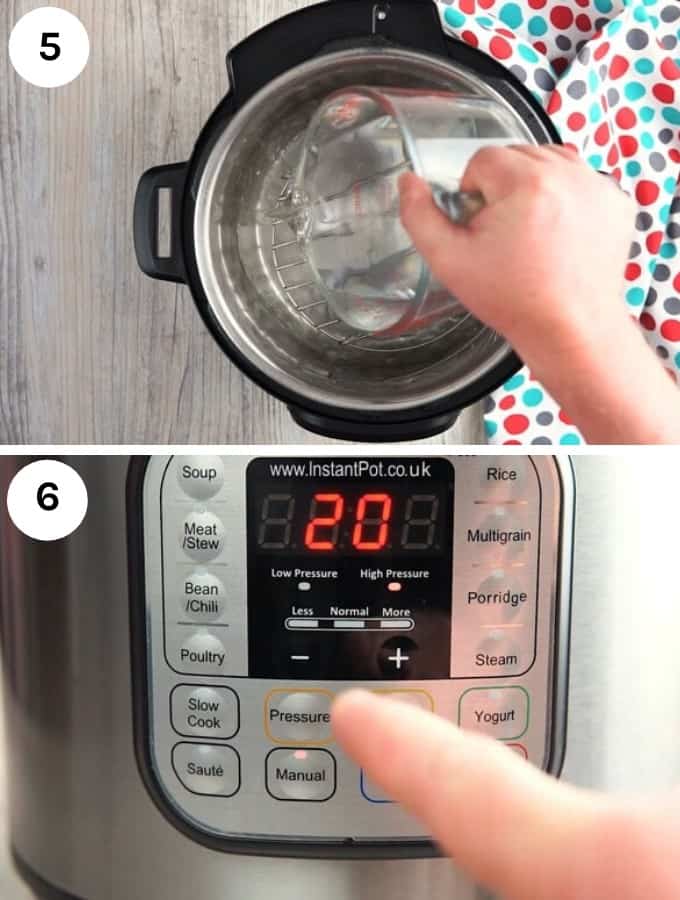
5. Place a trivet in the instant pot and pour in water. This water is what will be generating the steam so that the pressure cooker will come up to pressure.
6. Cook for 20 minutes at high pressure. Allow it to release pressure naturally for 10 minutes, and then release any remaining pressure.
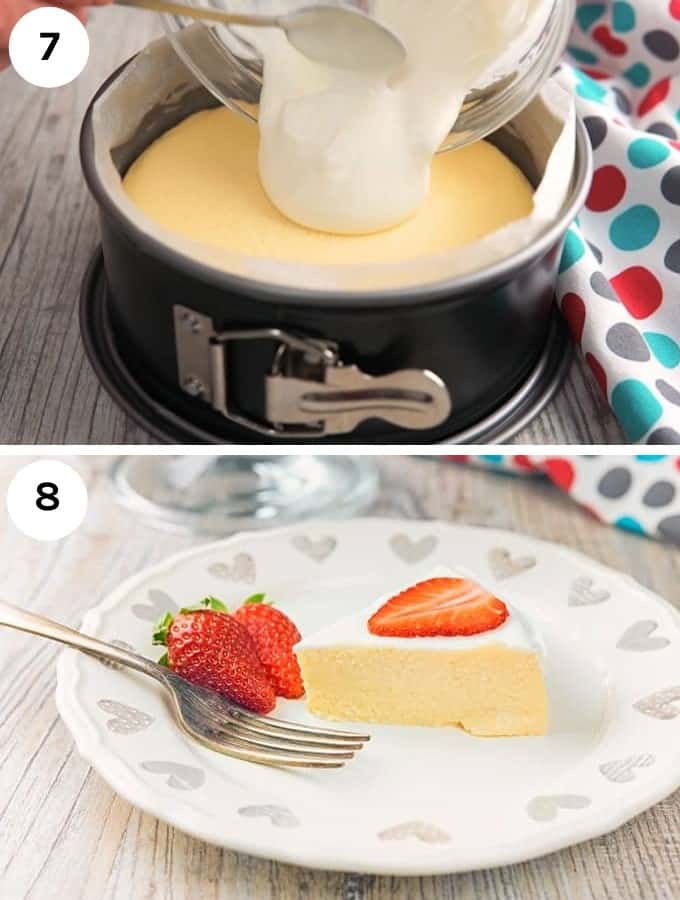
7. Mix the sour cream and Swerve for the topping. Pour in the topping over the still-warm cheesecake.
8. I know you're DYING to take a bite of that cheesecake. But trust me. Put it in the fridge to chill. It will taste much, much better, and a lot creamier.
That's it. That's how easy it is to make an Instant Pot Cheesecake. My cheesecake recipe is easy and will please the entire family.
Tips and Tricks to Making Keto Cheesecake
- The first piece of advice. STOP OVERTHINKING THIS. Cheesecake is easy to make. This Keto cheesecake Instant Pot recipe is EVEN EASIER. I mean, it's as simple as this. 1. Blend all ingredients. 2. Pressure cook for 20 minutes and add topping. 3. Chill. Both the cheesecake and yourself! You got this.
- Make sure your ingredients are at room temperature so that they're easier to mix and you won't be overbeating the batter.
- Use a blender on low as the video shows you, or use a hand mixer.
- Just mix the batter. Once you add the eggs, take care not to overbeat the batter.
- Using the parchment paper shown on the sides really helps to get smooth, even sides.
- One additional step that's helpful is to pour the batter, and then gently tap the pan against the counter. This helps to break the bubbles, and give you a smooth mixture.
- Don't skip on the sour cream topping. It is absolutely delicious. Put it on when the cheesecake is hot so that it just melts into the top in all its deliciousness.
- Absolutely plan to chill the cheesecake, at least overnight if you can. It's SO MUCH BETTER that way.
- This recipe was tested with a metal pan. Metal conducts heat a lot better than does glass. If you use a glass pan, you may have to increase the cooking time. If your trivet is very tall, you may need to increase the cooking time.
- When you open the pot, the cheesecake will be firm on the sides--but will have a little jiggle in the middle. This indicates that it is cooked well, but not overcooked.
- Cut this cheesecake into inch squares to save as keto cheesecake bites or keto cheesecake fat bombs.
LOOKING FOR MORE LOW CARB CHEESECAKE RECIPES?
I love tangy lemon and creamy ricotta in this easy keto cheesecake. I've made it in the Instant Pot! INSTANT POT KETO RICOTTA LEMON CHEESECAKE!
Also, give my Keto Chocolate Cheesecake Brownies a try! Your non-Keto friends won't put them down, I promise!
Toppings For The Best Keto Cheesecake?
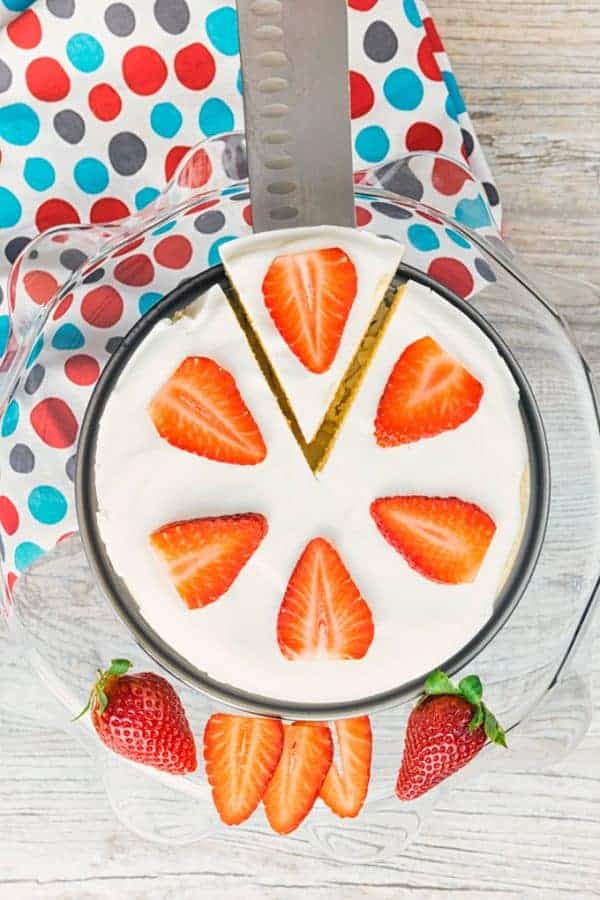
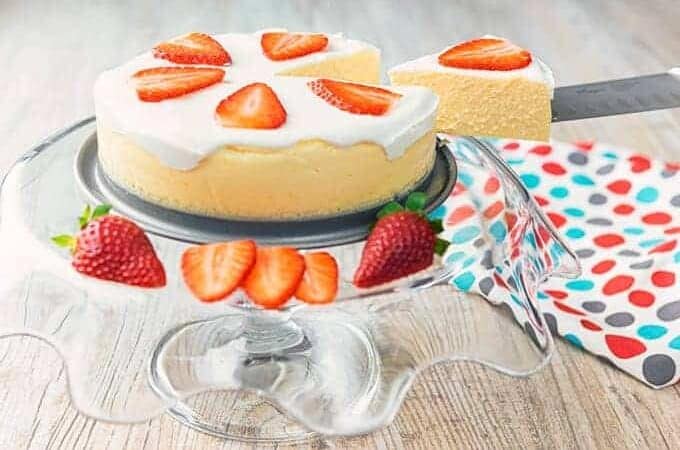
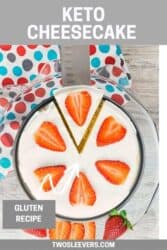
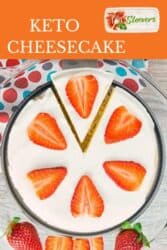
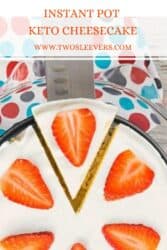
I simply used sour cream and swerve to sweeten the cake. If you are going to use fresh fruit as a topping, watch how much fruit you use, as any fruit will have natural sugars. I used two strawberries sliced as a topping and that gave me the perfect sweetness and freshness I was looking for without overindulging.
If you absolutely have to have a topping for your Instant Pot Cheesecake, here are some low carb options:
- Strawberries
- Blackberries
- Dark Chocolate
- Blueberries
Just remember to use portion control to keep your cheesecake keto-friendly.
If you love this Low Carb Cheesecake as much as I do, make sure you share this recipe with your friends on Facebook and Pinterest so they can try it too.
Originally Published April 11, 2017
Ingredients
- 2 teaspoons (2 teaspoons) Lemon Juice
- 2 teaspoons (2 teaspoons) vanilla extract, (I used almond, so delicious!)
- 1/4 cup (57.5 g) sour cream
- 1/2 cup (91 g) Swerve
- 8 ounces (226.8 g) Cream Cheese
- 2 (2) Eggs
For topping
- 1/4 cup (57.5 g) sour cream
- 2 teaspoons (2 teaspoons) Swerve
- 2 large Fresh Strawberries, sliced
Instructions
- Bring all ingredients to room temperature.
- In your food processor or blender, add all ingredients lemon juice, extract, sour cream, swerve, and cream cheese. Add them in this order, with the liquid ingredients at the bottom to help the blades move easily.
- Gently but thoroughly blend all ingredients, scraping down as needed.
- Add both eggs together and at this point, blend only as long as you need to, in order to get them well-incorporated, about 20-30 seconds. Your mixture will be pourable liquid by now.
- Take a 6-inch springform pan and line the sides with parchment paper.
- Pour the mixture into the pan. Cover the pan with foil.
- Place a trivet in the Instant Pot or Pressure cooker. Ideally, you want a trivet with handles you can lift out, such as the one that came with your pot. If you don't have a trivet with a handle, create a sling with a piece of foil as shown in the video. Add 1 cup of water into Instant Pot.
- Place the foil-covered pan on top of the trivet.
- Close the lid, set on high pressure for 20 minutes, let it release pressure naturally for 10 minutes. Then, release all remaining pressure.
- Mix up the sour cream and swerve for the topping.
- Take out the cheesecake and spread the topping all over it. Add sliced berries to the top if desired.
- Put it in the fridge and leave it alone. Seriously. Leave it alone and let it chill. It won't taste right hot.
- When ready to serve, pull out parchment paper, unbuckle the sides of your springform pan, and serve on top of the pan bottom.
Watch The Video
- The first piece of advice. STOP OVERTHINKING THIS
- Make sure your ingredients are at room temperature so that they're easier to mix and you won't be overbeating the batter.
- Use a blender on low as the video shows you, or use a hand mixer.
- Just mix the batter. Once you add the eggs, take care not to overbeat the batter.
- Using the parchment paper shown on the sides really helps to get smooth, even sides.
- One additional step that's helpful is to pour the batter, and then gently tap the pan against the counter. This helps to break the bubbles, and give you a smooth mixture.
- Don't skip on the sour cream topping. It is absolutely delicious. Put it on when the cheesecake is hot so that it just melts into the top in all its deliciousness.
- Absolutely plan to chill the cheesecake, at least overnight if you can. It's SO MUCH BETTER that way.
- This recipe was tested with a metal pan. Metal conducts heat a lot better than does glass. If you use a glass pan, you may have to increase the cooking time. If your trivet is very tall, you may need to increase the cooking time.
- When you open the pot, the cheesecake will be firm on the sides--but will have a little jiggle in the middle. This indicates that it is cooked well, but not overcooked.
Get support & connect with our community on Facebook!
Nutrition
Don't forget to check out my other Best-selling Instant Pot Cookbooks!
Indian Instant Pot, Keto Instant Pot, Instant Pot Fast and Easy, Healthy Instant Pot & Vegetarian Instant Pot.








Brenda
The recipe says "serves 6", but under nutrition it says 1 serving is 1 gm. That can't possibly be right.
Thomas A Horsley
I'm going to give this a try when I get my springform pan (I have almost everything else I'd need already). I probably won't experiment with the first one, but I do wonder how it would taste with fresh ground cardamon added to it.
Cathy
Is the recipe for a 6 or 7 inch springform? I see one listed in description, another listed in recipe. Thanks!
Edith
Loved this
Debbie Hunt
Can you double the recipe with a taller pan or an 8" x 3" push pan? Trying to serve more - narrower but taller slices? How long should that cook?
thanks!
Steve
The recipe that came with a set of stacked PIP pans is practically identical, adding a 2nd 8-oz package of cream cheese. However, they called for splitting the batter between the pans making 2. Ive been wanting to experiment and see how it turns out. 🤪
Johanna
I have had my IP for years, and never tried to make cheesecake because I thought I might be disappointed...fast forward to last weekend (or rewind 😄). It was my mom’s birthday and I decided to make your keto strawberry cheesecake, because I knew I could trust your recipe 🥰 it was awesome. In my rush to sing happy birthday over a Zoom like video chat, I forgot the cream topping, but added it in later. It was delicious...thank you. Definitely making this one!
Steven Field
Made yesterday, had a slice a few minutes ago. A bit sweeter than expected but good consistency. I did have to make 1 substitution; the stores were out of Sour Cream (& cottage & ricotta). I ended up using Forager Cashewmilk Yogurt, that was NOT Greek style, very creamy. LOL! Maybe should have tried Morinu firm tofu. I also think my pan was too wide. It was very short.
I’m a little worried about the Erythitol. I usually have issues with OLs (Sorbitol, Malitol, Tidy Bowl). But willing to try.
Thank you so very much!
Mary B
Made this yesterday, and it was delicious, but it was still mostly raw after 20 minutes at high pressure. I added another 6 minutes and it was good, although still a touch less cooked than described. I used a 7" springform and a pretty low trivet.
Do you think it could have been because I was using the 8QT Viva? The water came up to the bottom of the trivet but not up the sides of the pan at all.
It was still perfectly delicious and didn't crack the way they always do when I cook in the oven. I topped the slices with a dollop of your low-carb mixed berry chia jam. Wonderful.